Curious about how to make your home fresh and relaxing? Looking for natural cleaning products? Thinking about leveling up your skincare or routine? Interested in improving your health and wellness? In all these instances, essential oils can be your friend!
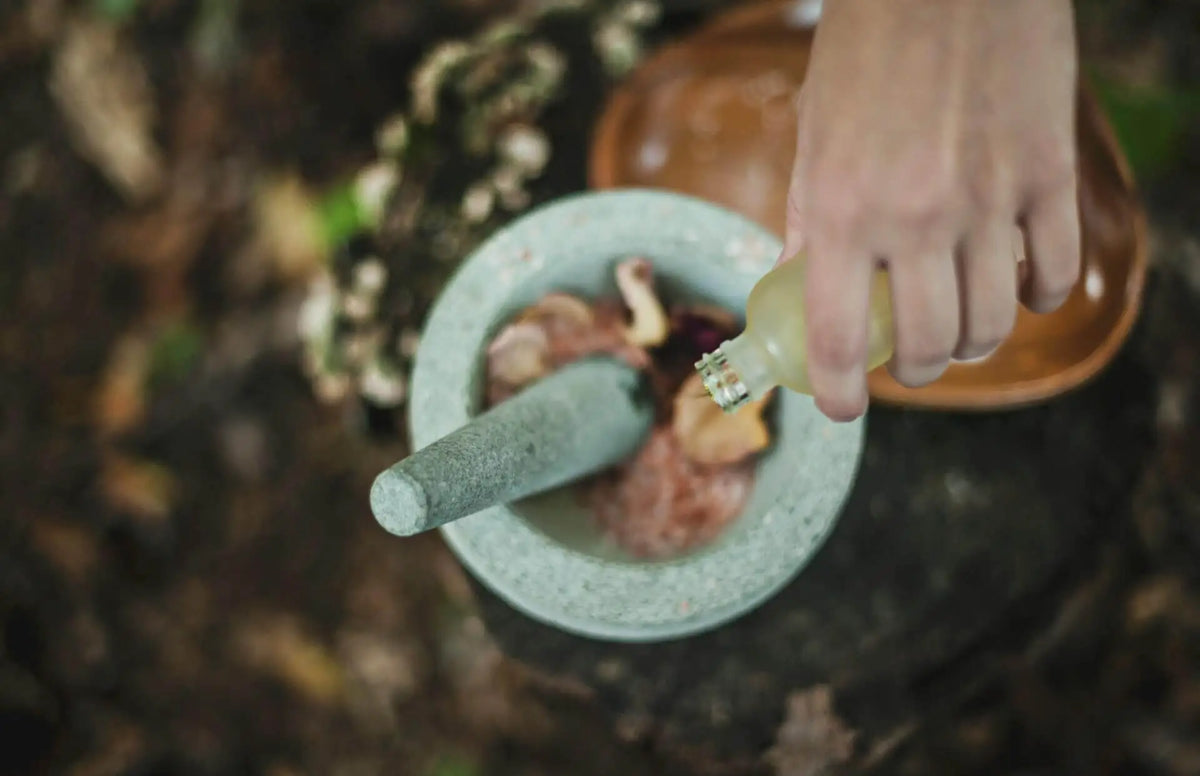
But we’re not talking about commercial essential oils! You can buy them online and in-store. But what if you can make them yourself at home? That’s what we’ll talk about in this post. We’ll share insights into sustainable DIY essential oils. Learn how you can go green while getting into an exciting project.
A Step-by-Step Guide to Sustainable DIY Essential Oils
Many of the best essential oil brands are from global companies and big names. As such, a lot may feel intimidated when making their own. No worries! It can be an easy project when you know what to do.
-
Use Sustainable Plant Materials
Lavender, eucalyptus, peppermint, and rosemary are among the most common plants in essential oils. However, you shouldn’t use any plant parts.
Hand-picking avoids damage to the plant and the ecosystem, including the surrounding soil. You must also be selective during harvest. Pick only the mature parts that you need. It gives enough time for the younger ones to develop fully.
Minimizing waste is essential. Leaves and stems are the most commonly used in essential oils. But don’t throw the other parts away! You can use residues for home composting. Meanwhile, flowers and seeds are vital ingredients for floral waters and tinctures.
-
Prepare Your Equipment and Plants
Your choice of equipment is a crucial consideration. Use energy-efficient appliances without compromising performance. Options at Green Thumb Depot can help you venture into DIY production without significant environmental harm. Taking advantage of renewable energy sources also helps. It could mean using solar panels to power your distillers.
Cleaning and prepping plants also require your attention. Efficient washing techniques help conserve water. Recycling water for subsequent cleaning will also help. You may also use water collected from rainwater harvesting systems for initial cleaning.
-
Choose Your Preferred Distillation Method
Distillation is the process of extracting essential oils from plants, and it's the most technical part of the process. It’s how you can obtain the final product from your raw materials. Heat vaporizes volatile compounds. The best thing is that it preserves the aromatic and therapeutic properties of the plants.

Steam Distillation
This traditional method is the most popular option for making sustainable DIY essential oils. The process is straightforward. Even for newbies, it’s a great option as it requires minimal and basic equipment.
Steam distillation relies on heat and water alone, making the procedure eco-friendly. No chemical solvents are necessary. In addition, there is low water and energy consumption. Minimal waste generation is also worth highlighting. You can recycle plant by-products.
- Generate steam by heating water in a boiler.
- Direct the steam into the essential oil distiller chamber that contains the plant material.
- Let steam pass through the chamber. Doing so will vaporize the essential oil.
- Cool the steam and essential oil in a condenser. It will become liquid again.
- Collect the distilled liquid and let it sit for a few minutes. Then, skim off the essential oil from the top to separate it from the hydrosol.
Hydrodistillation
The process is similar to steam distillation but requires directly immersing the plant material in hot water. It is suitable for tougher plant parts, such as roots. The procedure is easy and accessible for DIYers, as there’s no need for a complicated machine or essential oil maker.
You don’t need chemical solvents like the others mentioned in this post. It’s also energy-efficient. The leftover materials can make excellent compost.
- Fill a pot with water. Add the plant materials, ensuring they’re all submerged.
- Heat the water. It will release steam as it boils. This steam will carry the essential oils.
- Allow the steam to rise and pass through a condenser. The steam will cool down and turn into liquid through condensation.
- Collect the liquid. It will contain essential oil and hydrosol.
- Let it rest for a few minutes. The essential oil will naturally separate from the hydrosol. Skim and transfer.
Cold Press Extraction
The name itself can already give you an idea of what this method is all about. It uses mechanical pressure instead of heat. The natural properties remain intact. The absence of heat also makes it energy-efficient. No chemical solvents are added, contributing to its sustainability.
Cold press extraction most commonly uses citrus fruits. Think lemons, limes, and oranges. Fresher fruits are better. They can yield oils of higher quality.
- Remove the outer zest or peel of the fruit. It has the highest concentration of essential oils.
- Use a mechanical press or a cold extraction machine to squeeze the oil.
- Let the liquid pour into a container. Let it settle, and separate the oil from the juice.
Waste Management and Composting
Different plant materials don’t have to go to waste. You can use them in different ways, depending on what’s obtained. For example, hydrosol from the distillation process can be used for homemade skincare products, such as a natural toner. You can also use them for home cleaning solutions as they have disinfectant properties and mild fragrances.
Reducing single-use materials is also vital for sustainable at-home essential oil production. For storing final products, it's ideal to use reusable containers and glass bottles. If you plan to sell the essential oils you’ll make, eco-friendly packaging is also important.
The most popular way of using the remaining plant materials is for composting. Residues like citrus peels, herbs, and flowers are great for compost piles. They will decompose over time and break down into rich organic matter. Add them to your garden, and they can improve soil fertility.
Wrapping Up
DIY essential oils may seem overwhelming to the uninitiated. With basic materials and the right knowledge, however, it can be an easy project. You can even buy an essential oil-making kit with the necessary materials. Meanwhile, essential oil distillation equipment for home use does not need to be complicated and expensive. From materials to processes, pay attention to sustainability. This way, you can produce high-quality outputs while emphasizing your environmental concern.


0 comments