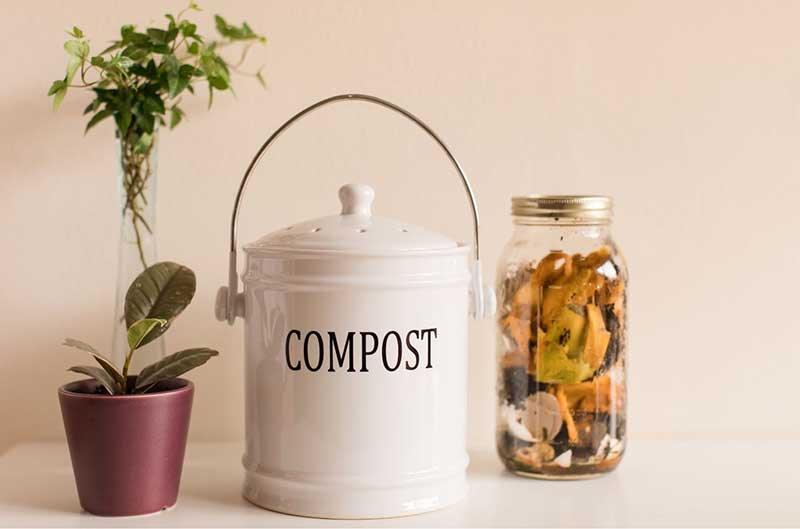
Instead of sending your food scraps straight to the landfill, what about composting them to help your plants grow? Easy home composting...how much better does that sound, right?
The big question is: How to make compost at home?
Most people refrain from making compost at home because they think it’ll smell bad and attract animals. But hey! If these things happen to you, you’re doing it the wrong way.
That’s why we’ll show you how easy home composting can be. Keep reading to find out how to make compost at home and what “ingredients” you should use for easy home composting!
Easy Home Composting: What to Compost?
To have an easy home composting experience and get better results, it’s important to use the right ingredients. So, before learning how to make compost at home, let’s check some materials you could add to your compost pile or bin:
- Grass clippings and yard trimmings
- Fruit and veggie scraps
- Hair and nail clippings
- Wood and bark chips
- Coffee grounds
- Newspaper
- Cardboard
- Nutshells
- Eggshells
- Leaves
- Paper
- Straw
Pro-tip: Chop and shred your ingredients to accelerate the composting process.
Don't forget: You can home compost all of your cardboard packaging that's got product over it, such as the packaging from our natural deodorants. Also, you can compost your used bamboo cotton buds and wooden toothbrushes
Easy Home Composting: What Not to Compost?
Although home composting is an easy way to reduce your organic waste, there are some
organic materials you should avoid. Unless you want to transfer harmful pathogens or substances to your plants, have odour problems, or attract pests, don’t add these materials:
- Plants that have been treated with chemical pesticides
- Meat, bones, or fish scraps
- Fats, grease, lard, oils
- Dairy products and eggs
- Coal or charcoal ash
- Diseased plants
- Pet manures
- Cooked food
- Coloured or glossy paper
How to Make Compost at Home?
Now that you know the best ingredients to have a successful and easy home composting experience, let’s get started!
Without further ado, here’s how to make compost at home:
1. Store Your Kitchen Waste
We know you’re excited to start composting, but you need to get your “ingredients” first. Think of it as following a recipe, that’s how you make home composting an easy and fun project!
You can store food scraps in a bag in your freezer until you have enough organic materials to create your compost pile.
2. Select a Place to Make Your Compost at Home
Don’t have a backyard? You can use a small bin for home composting. Easy peasy!
To speed up the process, place your compost bin or pile where it gets some sunlight. Also, you should avoid placing your pile under eaves to prevent it from getting too soggy, which results in bad odours.
3. Make the Compost Mix
This is where most people run into trouble when learning how to make compost at home. But don’t worry, it’s easier than you think. Just follow this “recipe”:
First, lay some twigs at the bottom of your pile or bin. Next, you should alternate “brown” and “green” materials in layers. To get a healthy compost pile and prevent undesired odours, you should alternate three parts brown with one part green materials.
Dry, brown materials are carbon-rich matter, like newspaper, cardboard, sawdust pellets, wood ashes, dried leaves, eggshells, and others.
Wet, green materials are nitrogen-rich matter, such as food scraps, green leaves, green lawn clippings, and others.
Finally, put a brown layer on the top of your compost to keep animals away and mask any odours!
4. Keep Compost Moist
Check your compost regularly and sprinkle some water over the pile if it’s too dry. As a general rule, your compost should be moist, but not too soggy. Otherwise, your organic materials will rot.
5. Wait and Aerate
You’re almost done, but there’s one more thing you need to know to make home composting an easy and successful task!
Once a week, you should turn or rotate the pile with a garden fork (or whatever works best for you) to make sure the air is flowing. This way, you will speed up the process and prevent unpleasant odours.
After a while, your compost should look like dark soil and have a woody smell. And that’s when you know you’ve learned how to make compost at home!
With these basic steps on how to make compost at home, you shouldn’t have any problems with this eco-friendly process. So, now that you know how easy home composting can be, give it a try!


0 comments