Ever thought about how to make reusable sanitary pads for yourself? Thats exactly what we're here to discuss today.
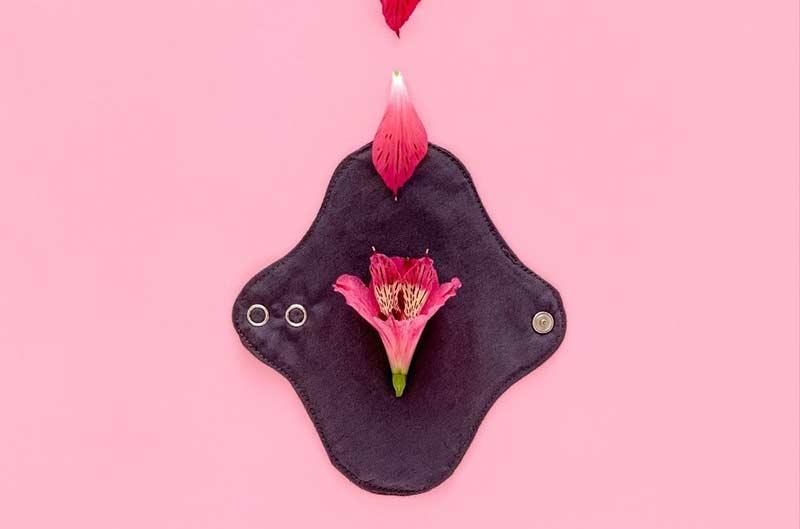
Did you know that some disposable pads can contain as much plastic as four supermarket bags? Besides generating tons of waste, disposable menstrual pads could also irritate your skin. And that’s when reusable sanitary pads come in handy. They’re plastic-free, cost-effective, durable, and easy to make!
There are plenty of reusable sanitary pads available to buy, in just about any colour or pattern. They're easy to care for, better for your health, and super-gentle on our environment. But that's not what we're here for today, oh no.
Want to know how to make reusable sanitary pads for yourself? Good! We’re here to help you with exactly that.
In this article, we’ll teach you how to make cotton sanitary pads at home, including what materials you need, the best fabrics to use, and some useful tips!

Materials Needed to Make Reusable Sanitary Pads
Before learning how to make reusable sanitary pads, let’s check the best materials to use:
- A disposable sanitary pad to make your template
- A sewing machine or a needle
- Buttons or snaps
- Fabric scissors
- Sewing pins
- A marker pen
- Thick paper
- Fabrics
- Thread
What Fabrics Should You Use to Make Cotton Sanitary Pads?
- Cotton, cotton flannel, or cotton fleece for the top and bottom outer layers
- A thick fabric, like an old towel, for the centre of your cloth pad (core)
- PUL fabric to add a waterproof layer
How to Make Cotton Sanitary Pads at Home?
Making your own cotton sanitary pads is not as complicated as it sounds, you can hand sew your pads or use a sewing machine to get better results. With that in mind, here’s how to make reusable sanitary pads:
Step #1: Create Your Template
Trace the disposable sanitary pad on your paper and create your template.
Step #2: Cut the Fabrics
After tracing your template on the fabrics, use a sharp scissor to cut two pieces of cotton, these will be the topper piece and backer piece of your reusable sanitary pad. Next, cut a piece of PUL fabric to have a waterproof layer.
For the core pieces, just cut the pad shape, we don’t need the wings for these pieces. Depending on how absorbent your core pad fabric is, you could cut two or three pieces.
Step #3: Sew the Core Pieces
Sew the pad core pieces together to make a combined piece.
Step #4: Sew that Combined Piece to the Topper Piece
Fold your top body piece in half and press it to mark a middle line. Then, place your combined core piece on top of the reverse side of the topper piece. Make sure to line up the centre of the core with the marked middle line of your topper piece. Now, pin in place and sew the core piece to the top body piece.
Step #5: Sew the Pad
Place your waterproof layer (PUL fabric) on top of the reverse side of the backer piece and treat them as one piece. Once you’ve done this, pin the topper and backer pieces together with the right sides facing in. Next, sew around them using a 0.5-centimetre seam allowance, and don’t forget to leave a gap of about 5 cm. And finally, remove excess fabric without weakening the seam.
Step #6: Turn the Pad Right Side Out
Turn the pad through the small gap and press with a steam iron to sharpen the edges. To close off the gap and add a final touch to your creation, topstitch around the reusable sanitary pad.
Step #7: Attach the Snaps or Sew a Button
Your cotton sanitary pad is almost done! Don’t forget to put a button, plastic snaps, or metal poppers on your cotton sanitary pad to keep it attached when in use.
And this is how you can make a reusable sanitary pad! Follow these basic steps on how to make cotton sanitary pads at home and ditch disposable period products once and for all.  Or does making your own reusable sanitary pads not sound like a bit of you? We can help with that too. Check out our eco friendly period products range for more ethical and eco-conscious inspiration to green your monthly periods :)


0 comments